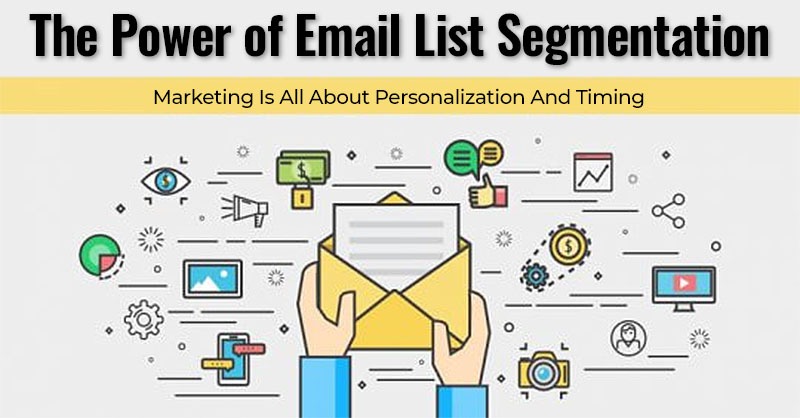
Marketing Is All About Personalization And Timing
If I’m talking to friends about where to go out to dinner, and an ad pops up for a local restaurant – it appears at the right time, right place.
The impact that personalization can have on different marketing strategies like your email marketing really isn’t up for debate.
So, how can you leverage this type of email personalization?
Sending emails provides powerful ways you can use to learn about your audience.
Then you can use that information to send a much more targeted and personalized email.
Below, I’m going to describe how to use click automation to segment your list using tags on Aweber.
I’ve been using the Aweber autoresponder service for over 10 years now.
I’m just used to it and like how it works.
Other autoersponder services will offer similar ways of segmenting your lists but you’ll need to find out how they implement this feature yourself.
Email List Segmentation Based On What They Click
Click automation is a way you can add a tag based on a link in your email.
Setting up click automations is so easy.
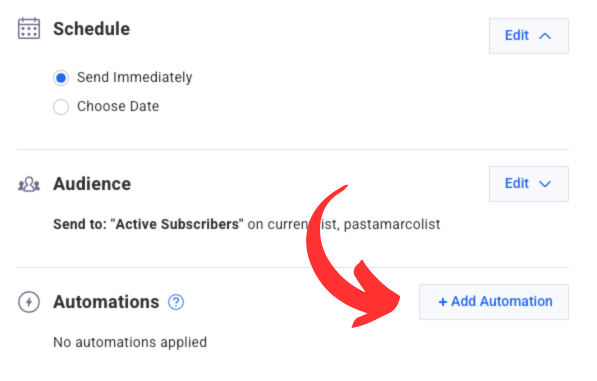
Step 1: When you go to schedule your email, click the Add Automation button.
Step 2: In the drop down select “Clicks a link”. Then all the links in your email will appear.
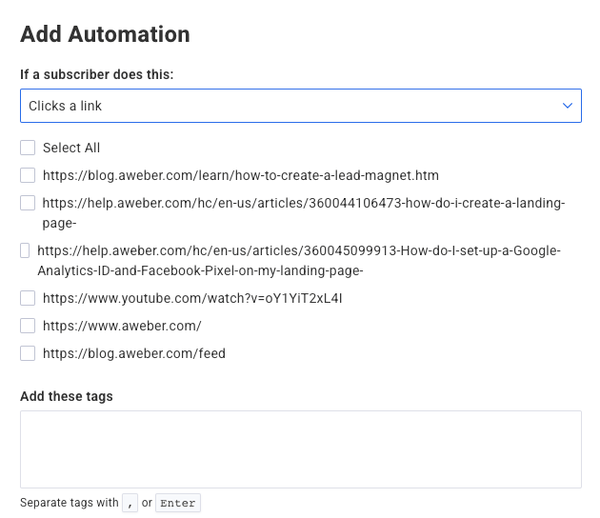
Step 3: Choose the links you want to apply a tag to, then add the tag in the “Add these tags” box
Follow these steps for each tag you want to apply.
How can you use this?
Let’s say you’re a fitness instructor and your newsletter has a link to your blog on losing weight and another link to putting on muscle.
If you tag your audience based on what they click, you can now personalize future emails based on content they’re interested in (losing weight or putting on muscle).
You can also set up click automation in your automated emails (that is, for emails in your Campaigns, otherwise known as followup sequences of emails).
Add relevant content to your welcome email and use that information to build a stronger relationship with your audience.
Make It Easier To Send Personalized Emails
Now that you’re going to be using tags to personalize your emails, make it easier to find and send dedicated emails by setting up a segment for each tag.
A segment is an organized way to group your audience based on a specific set of criteria.
It’s a great way to organize and talk to different groups of subscribers in your list.
Creating a email list segmentation is really easy in your AWeber account.
Go to Subscribers:
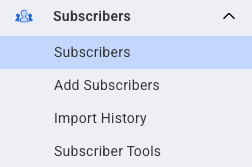
Then start adding your criteria.

Here’s the settings I recommend:
- Any Opens, since, type in “1 year ago”. I would not recommend sending to anyone who has not opened in over a year.
- Stop Status, is, Subscribed. This will exclude anyone who has opted out of your email list.
- Tag, is. Apply your tag. If you have multiple tags you want to add in one segment, choose “is any of these” in the drop down.
Save your segment.
Make the name related to your criteria.
Ask What Your Subscribers Want With A Survey
Be direct in your emails – ask your subscribers what they want.
For example, let’s say you sell pet products specifically for cats and dogs on an Etsy shop, but you don’t know if your customers are cat owners or dog owners.
Add some links in your email asking them.
The links could send them to specific dedicated pages with products and content specifically geared towards the type of pet owner they are.
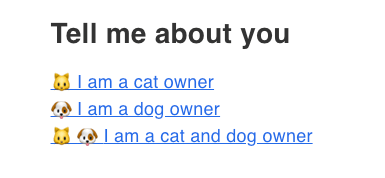 Using click automation, you have now segmented your subscribers into 3 groups or segments.
Now you’re ready to send offers specifically geared towards what each subscriber wants to receive.
No more guessing or sending all encompassing emails.
No more email blasts to everyone, hoping some will take action on your emails.
Website page visits
Suppose you are sending people to pages on your website rather than directly to an affiliate offer.
What’s your audience doing once they’re on your website?
What content are they reading?
With Aweber’s email web analytics, you can learn what pages your audience is visiting and what products they’re purchasing.
This information is pulled into your AWeber account.
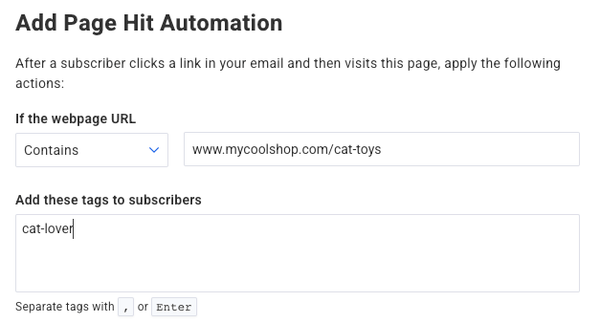
You can even have tags automatically applied based on the specific landing page they visited.
If you don’t have email web analytics set up, you’ll need to do so by following a few simple steps.
Once applied you can add tags based on specific landing pages.
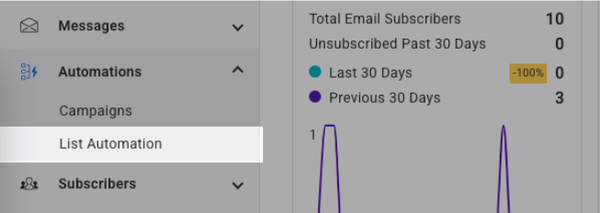
Step 1: Click the “Automations” tab in your account and click “List Automation.”
Step 2: Go to “Page Hit”
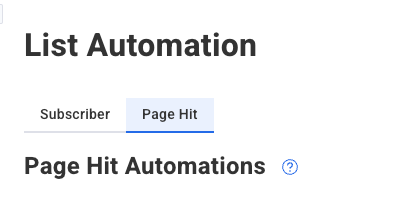
Step 4: Add your URL and tag you’d like to apply.
Go Create Better Experiences
Now it’s your turn.
Think about what you want to learn about your customers and apply the tools to track how they’re interacting with your emails and website.
Once you start personalizing your emails based on content and offers you know your customers want to receive, you’ll start seeing higher email engagement and more sales.

All the best,
Gary Nugent
Check out my Instagram posts and reels here:
Follow me (@garynugentmentoring) on Instagram
P.S.: Don't forget, if you want to create an internet income of your own, here's one of my recommended ways to do that:
